Riggers (or how to make a 12 month build last way more.)
- matthewdeshon
- Dec 10, 2022
- 3 min read

Now, I have an opportunity to reflect and realise that I have an understanding wife. The boat has been occupying the garage space generally used by her car. It is now over 12 months since I started this project.
I am getting into my riggers. This step started back in September when I last made a blog post.
I have decided to make my own riggers from timber. This project has really been all about pushing my skills and development of techniques into new areas so making the riggers from timber is pretty simple. It's the fiberglassing of the timber afterwards that is an issue. I've never done it before so it is time to build a new skill.
I am sticking pretty close to the directions detailed in the build guide I got with my plans. As with all things boat, some things are not quite right. I am using slightly deeper boards. I am using Hoop Pine for the rigger build (recommended to be different but I have used Hoop all through the build).
Using a direct quote from the Boatcraft Pacific website.
"Hoop Pine is almost identical in strength and flex to Douglas Fir (Oregon Pseudotsuga menziesii ) which is widely used in boat building. Hoop Pine has been extensively used in Australian boatbuilding (and amateur aircraft construction) "
The board I'm using is 94*18. the recommendation is to be a bit smaller and fatter (90*19). U just used what I have available. The main thing is the measurements fitting within the range detailed in the plans.
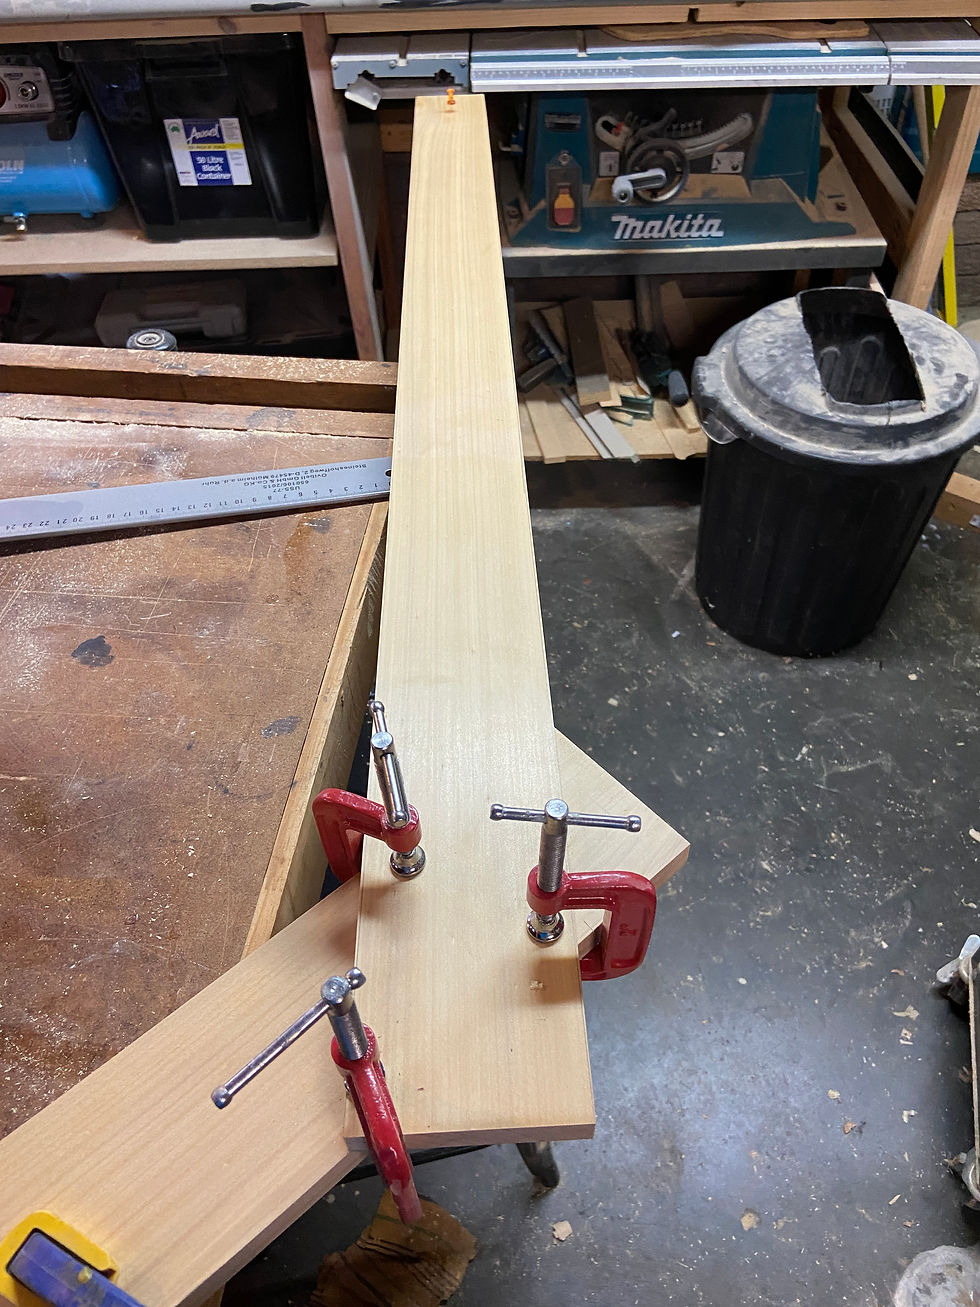
Following Daves directions, I cut the board to length following his guide, and used a hand plane to taper the arms of the rigger for a bit of style and to reduce some of the weight.
The parts are 2*990 arms and the base is 673. All this came from a 3m board so I had enough.
I set up the tapers on the arms to go from 90mm to 65mm. Both were planned down using my Jack plane and I am happy with the result.
I then left the project alone for 8 weeks. work got in the way and a left it alone.
Back into it. Below is a picture of the initial setup.
To achieve this outcome, I tried to use the angle setup method detailed by Dave and the dimensions were just not working.

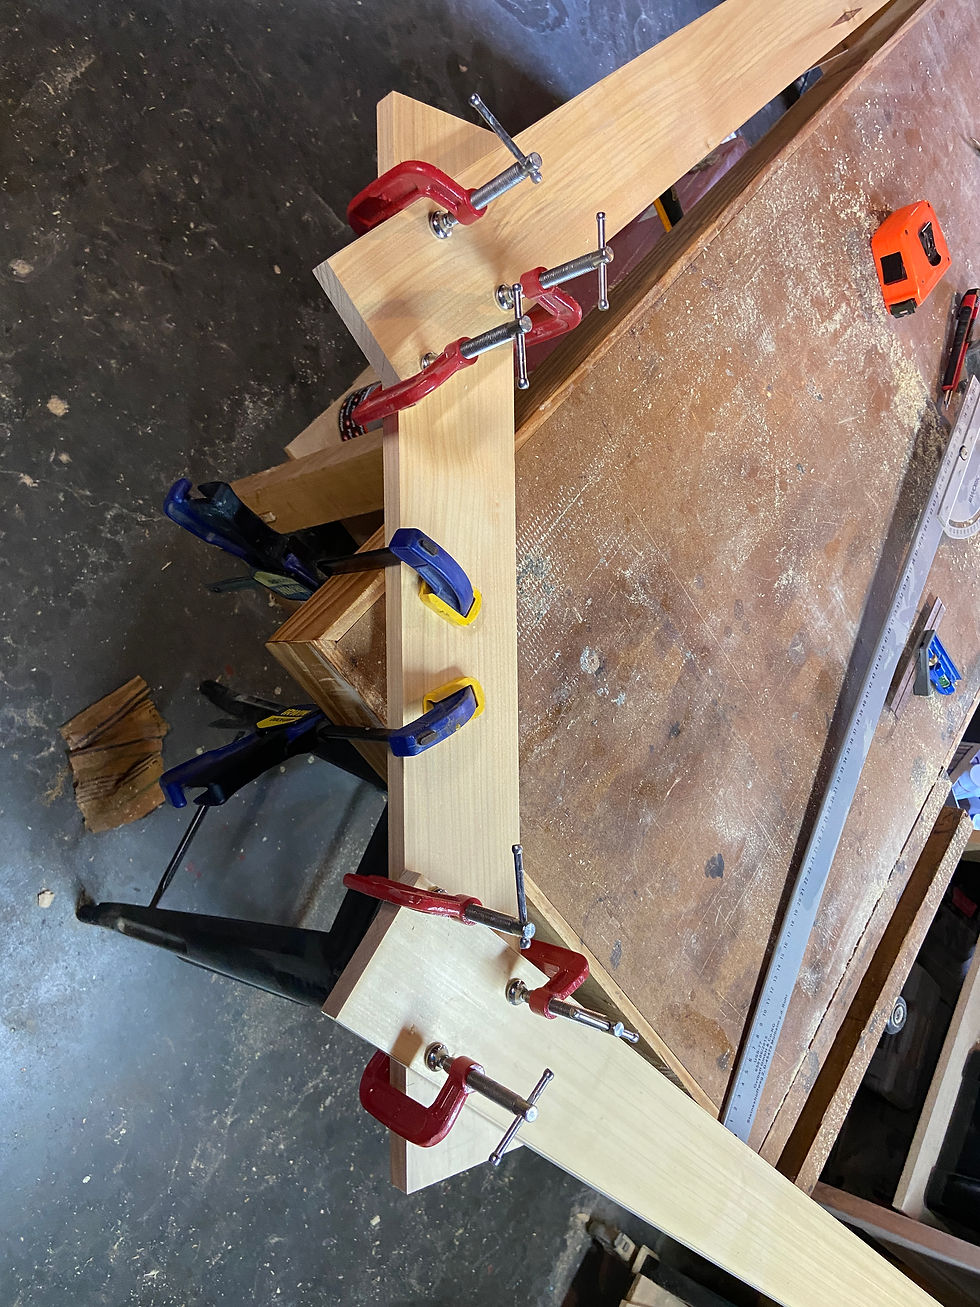
So I left it for a few hours and then came back. eventually, I realised because I'm using slightly different boards and tapers, ALL my angles are different. So I changed my approach to using the recommended measurements from the build guide. In this configuration, the pin width is 1597 wide and 585 from 90 on the cross board. Dave recommends 1590 *570. My only fear is that the 15mm difference in length may be too much. This considered it might not matter in the long run. I can probably tune my oars to account for the different widths, and perhaps push the rigger back to account for the length. Articles I read online about rigging talk about sculling rigging to be between 1560 to 1620 wide. This means I'm right in the right ballpark for the rigging setup.

Once I am happy with the geometry of the riggers, I will mark up the sections I'm going to modify.
This will involve a combination of cutting sections off (100%) or half-lapping the joints on the end sections. These joints will need to be checked because knowing me, I will cut the wrong face off.
One tool that I might use once I have made some scoring cuts will probably be my trim router on an extended base to offset the tool and kinda turn it into a router plane. I will let you know how this goes. This means I will have a very flat base for the epoxy resin to join everything together and I can aim for high precision in the joints.
More to come as I do more in this stage of joinery


Comments